Table of Contents
Edit automatic translations on your website in live
Video demo of the Live Editor
Live Editor access
The edition of an automatic translation on a live website is something usually done by a translator. The live website translation from frontend or “Live editor” tool is to be found in your Linguise dashboard.
Note: If you’re looking to replace text using global rule, please use this documentation >>
To add such translation, connect to your Linguise dashboard > click on Online Editor

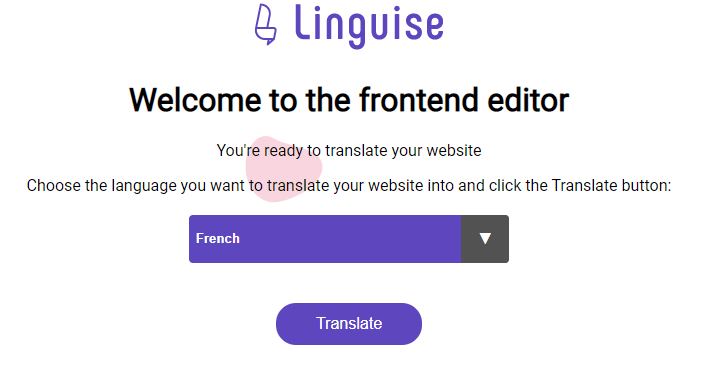
From there you’ll be invited to choose the language you want to edit, I’ll pick French for example and hit the “Translate” button. That will lead me the website frontend.
You’ll be redirected to the website frontend in the language selected, here that’s French. In the top-right corner you have a switcher to change the browser mode:
- Navigation: you can navigate on the website as usual to find the page to translate, when you click on content, the browser won’t edit the translations
- Edition mode: you can click and edit elements, it’s materialized when you put mouse hover a text
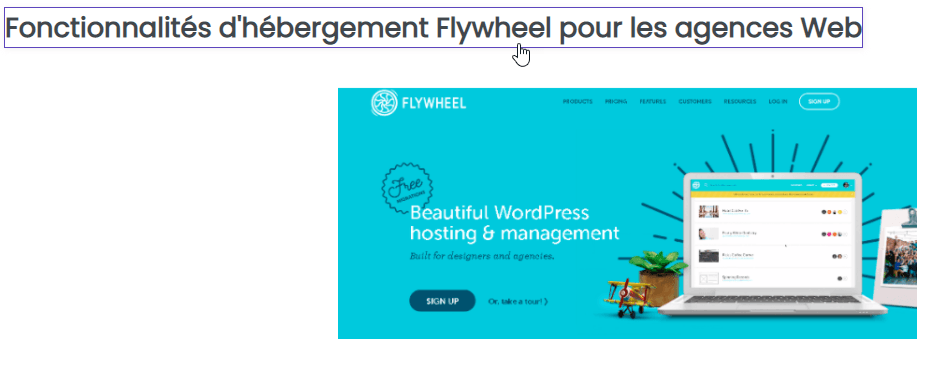
On click a popup will open with the text to edit:
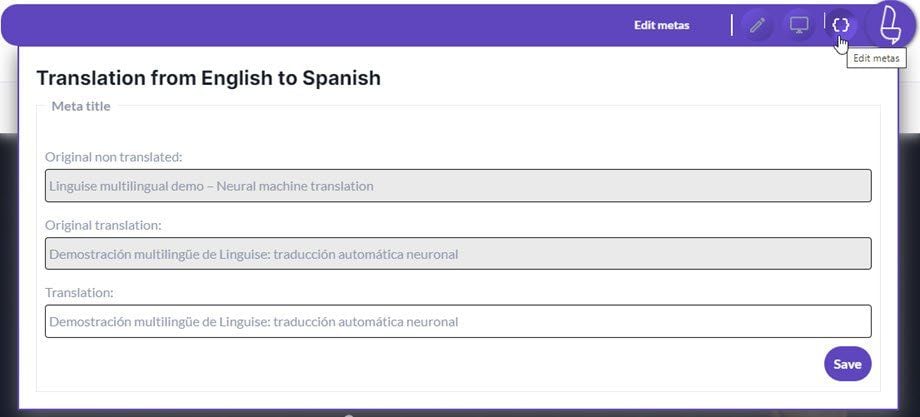
3 elements are present:
- The text from the original website language, here in English
- The automatic translation, here in French
- The current translation you can edit
In this example: we’ve edited this specific French translation. Note that if the text in the original language is edited, the translation will no longer be applied and will be replaced by an automatic one.
Translate with Linguise AI on Live Editor
Linguise’s AI Translation feature enhances your website translations using advanced artificial intelligence to produce more natural and context-aware results. It goes beyond Google Cloud AI translation by continuously learning from context and improving phrasing accuracy across all pages. The Linguise AI translation is sold as a separate, prepaid, package.
You can apply AI Translation selectively or across your entire website and review the results directly from the Live Editor, ensuring every translated sentence meets your quality standards. Here are the main differences:

To use Linguise’s AI translation within the Live Editor, you’ll first need to enable the feature in your Linguise AI settings.

You can choose between “Live Editor only” or “Rules and Live Editor” depending on where you want to apply AI translation.
You can find this option on the Linguise dashboard > AI Translations > Settings.

Once enabled, open the Live Editor — you’ll see the AI Translation button located on the far left of the interface.
Click “Force retranslate with AI” to trigger an instant retranslation of the page you’re currently viewing. The page will be retranslated immediately using AI, enhancing translation quality and context.
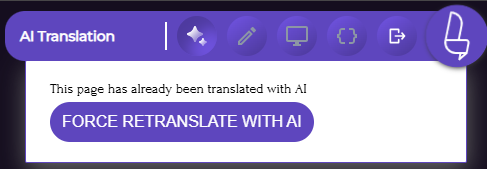
When a page has already been retranslated using AI, you’ll see the message “This page has already been translated with AI.”
This message helps you easily identify which pages have been processed by AI, preventing any confusion about their translation status.
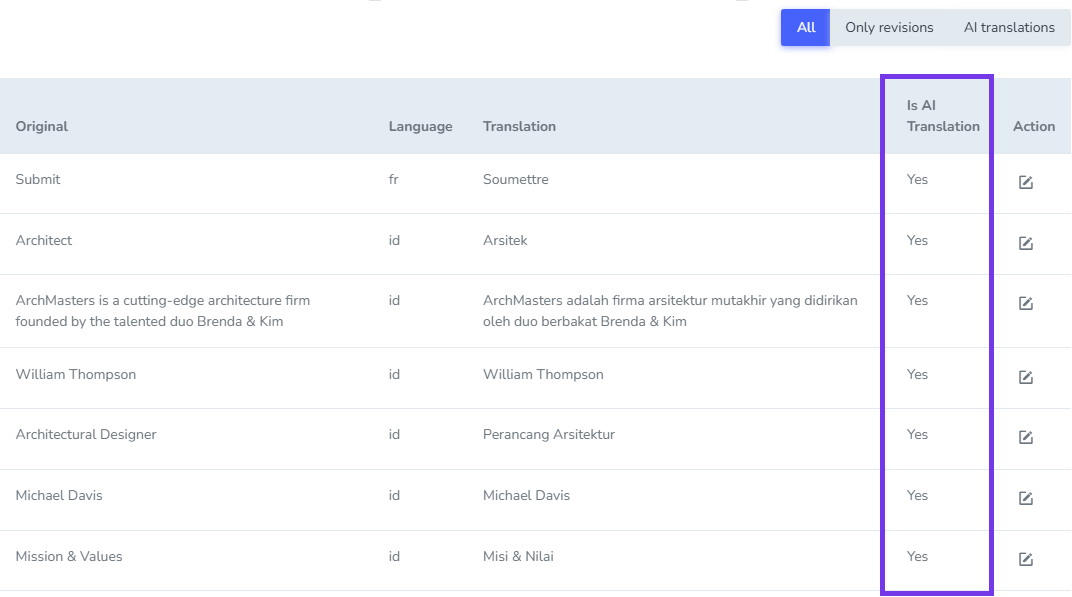
You can review the results from your Translations page. To distinguish AI-generated translations, the AI Translation status will display “Yes” for entries translated through AI.
Edit translation with inline elements
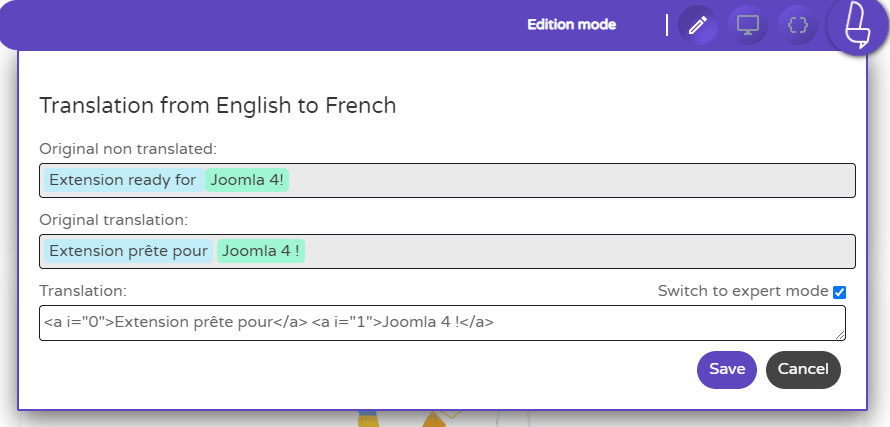
Inline code in automatic translation is often considered as an individual sentence; therefore the neural machine treatment loses the translation context, making it less accurate. Linguise has a dedicated tool developed that brings everything together with an accurate translation of the HTML inline content.
Inline content such as bold text or hyperlinks elements will be materialized by colors.

In this example: we’ve edited an online French translation. After an online text edition the page will be reloaded to save the content.
There’s also an expert edition mode, only accessible when the editor detects content with inline HTML. When the expert mode is activated, you have access to a simplified version of the HTML content + a tag that indicated the block order for translation.
When editing in expert make sure that:
- You’re adding the text in the proper block (i=”0″, i=”1″…)
- You do not remove any HTML from the content otherwise the visual may change
Translate link URLs, video URLs
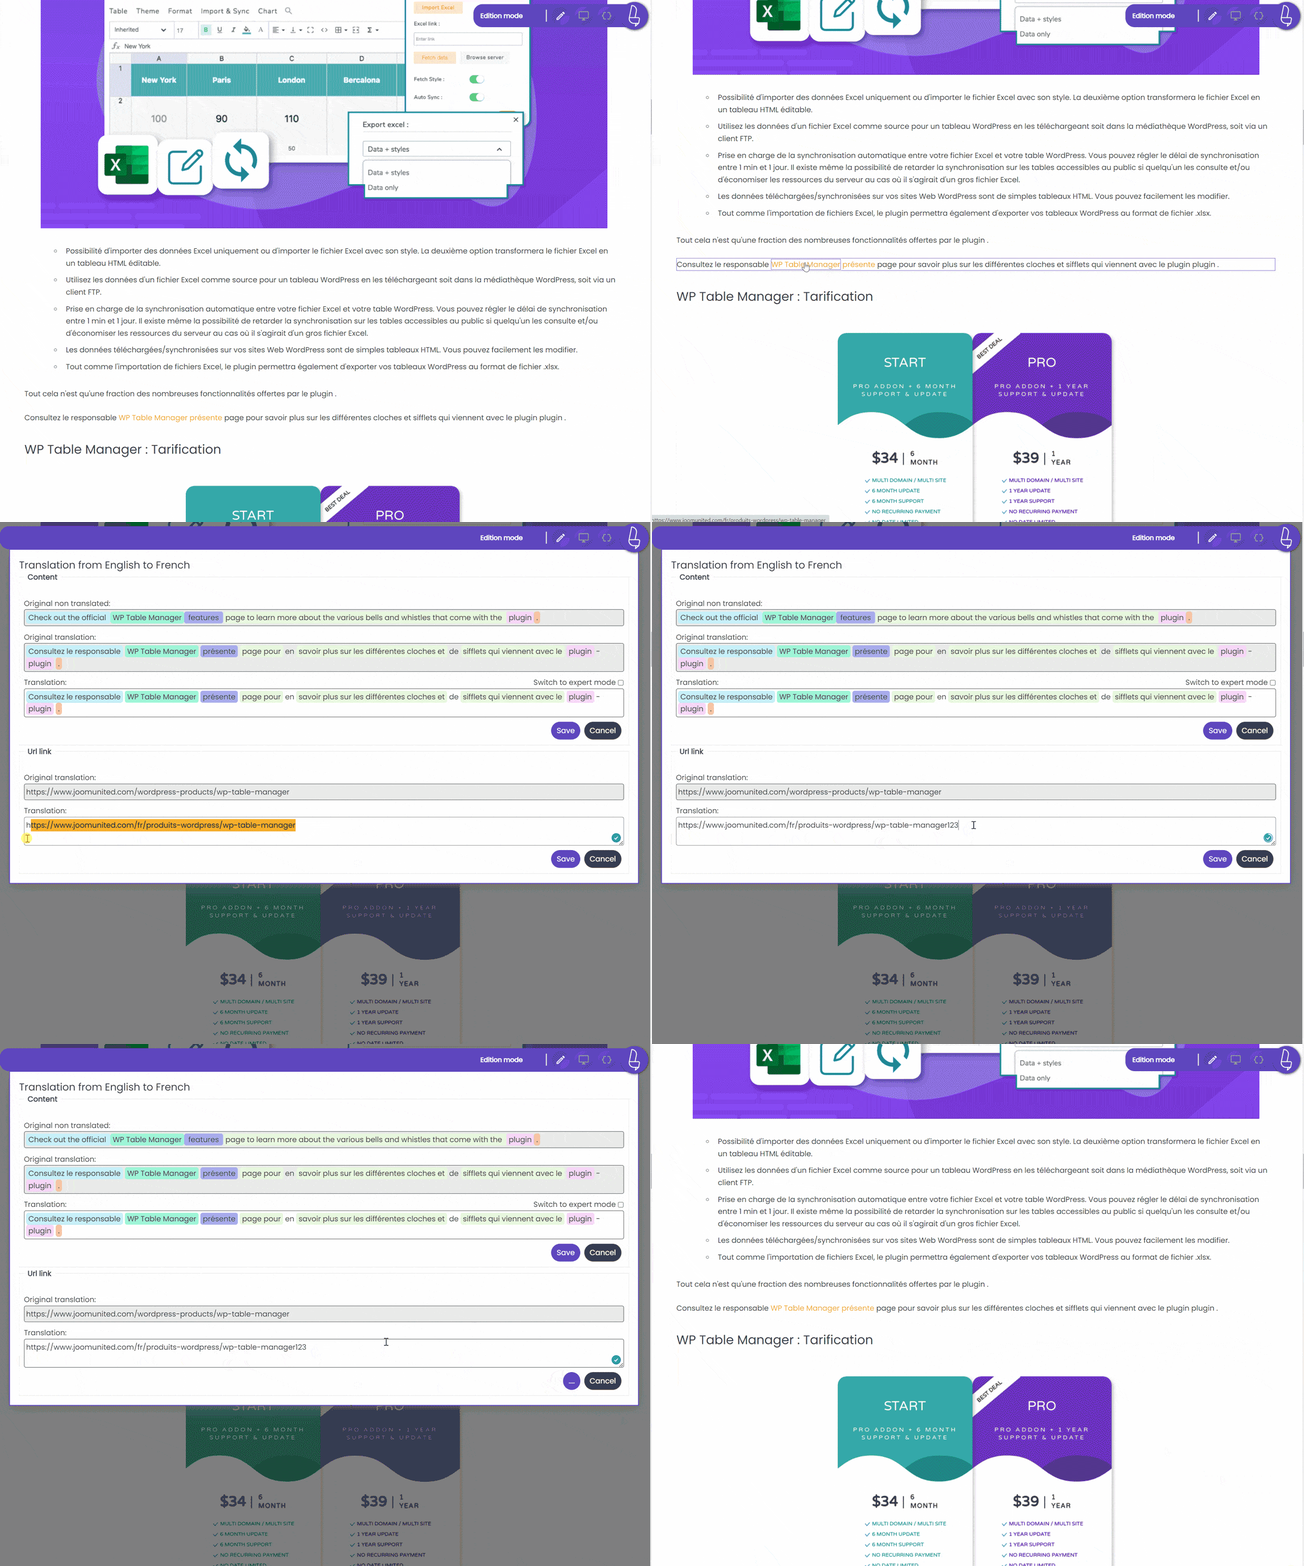
The live editor is able to identify links you have in your content, and you can edit them when making a translation. This is also possible to edit embed video links for videos like YouTube videos.
To translate links, just click on the link <a> tag, and you’ll get access to the text + the link you want to edit, that’s it!
Important note: only external URLs can be edited as all internal URLs are translated and controlled by Linguise.
Translate link to images
It’s possible to edit links to images in the same way. Find an image you want to be different in your translated content and click on it.
The live editor will open a window with the image link, just edit or paste the link to a new image.
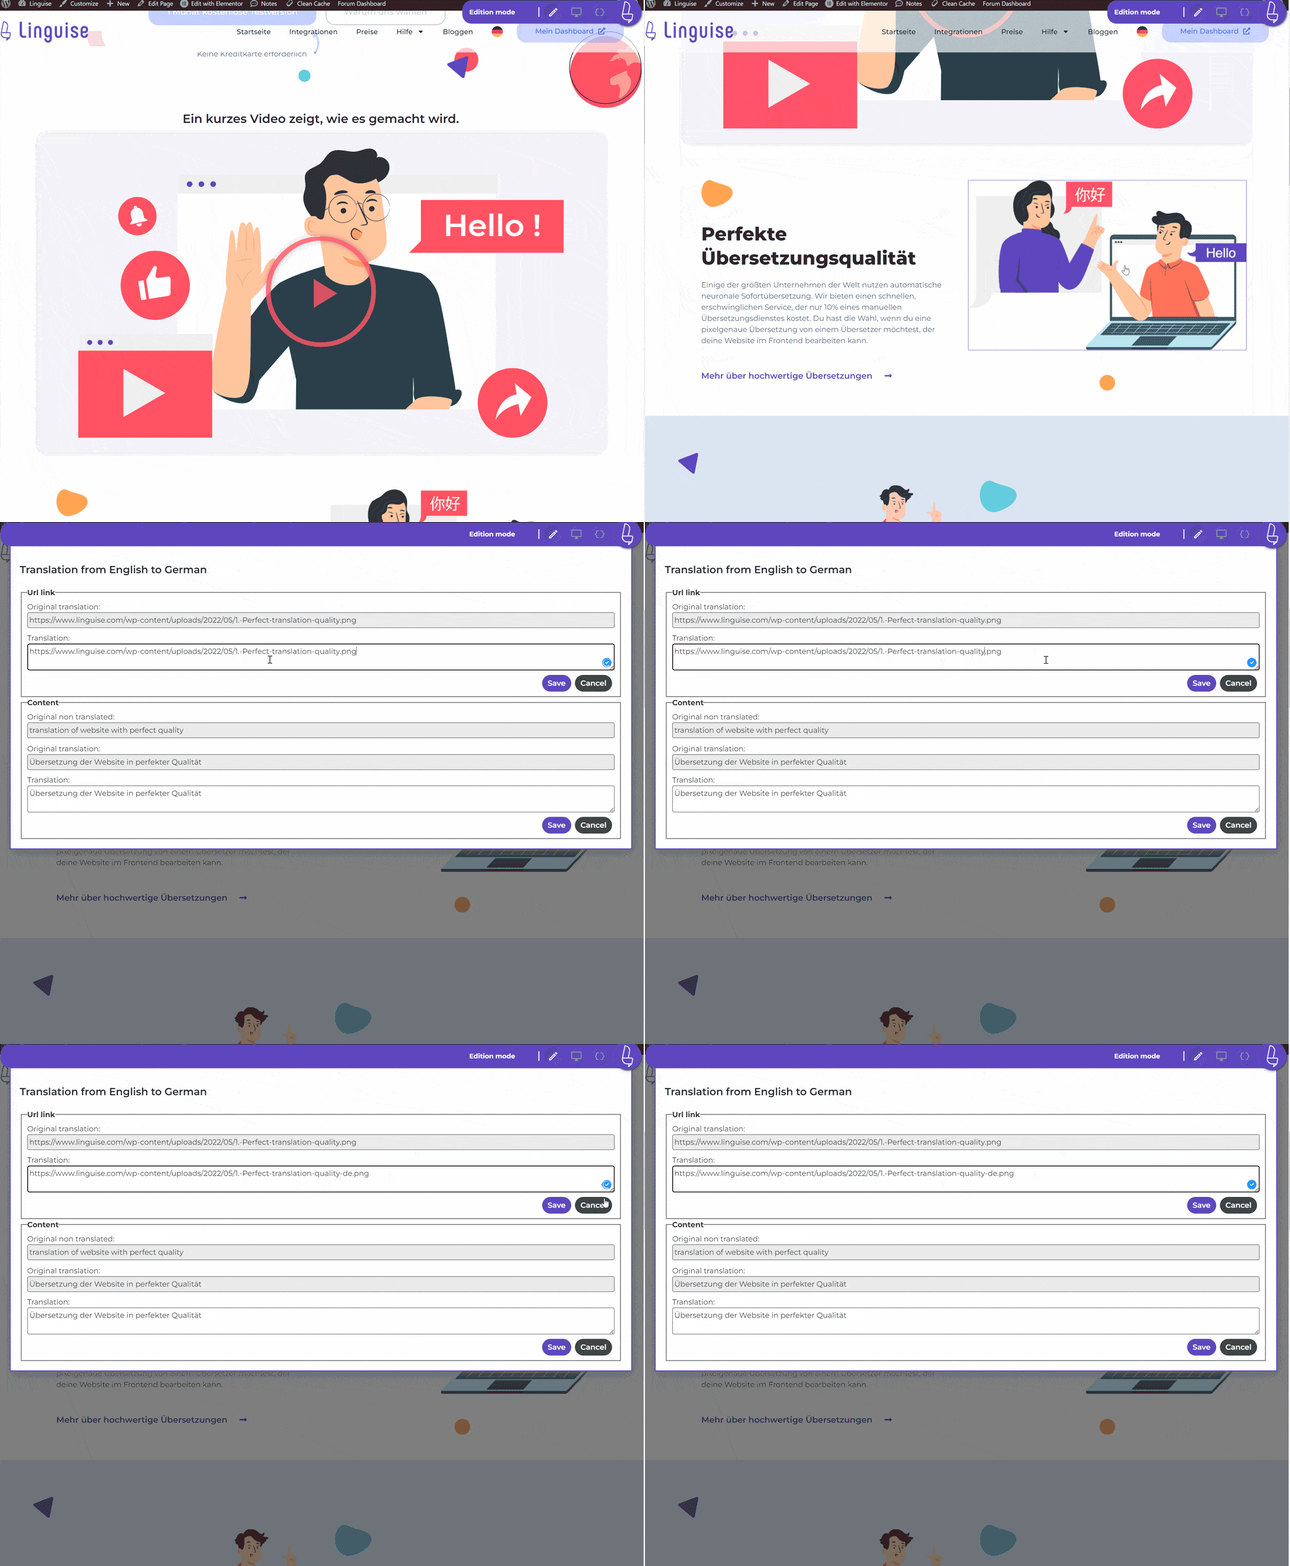
SRCSET and image translation: beware of image srcset and image replacement for translation. Srcset is an HTML attribute, allows different scaled images to be delivered based on the size and resolution of the accessing device. This allows you to further optimize your image delivery to improve the overall performance of your website or application.
If you translate and replace an image with srcset attributes, make sure that the translated URL has the thumbnail generated; otherwise it may result in 404 errors when trying to load images on mobile devices.
Edit meta information
The front-end translation editor is also capable of editing all the meta information like page title, page meta description or SEO information from social network (Facebook default title…).
Click on the code button to load all the meta and start to translate them.
