Nowadays, website sliders have become a popular design choice for many simply because of their versatile usage. Although sliders are a great way to showcase your offerings and reviews, they can be problematic if you have a multilingual website.
Slider content exists outside the WordPress editor and is added by using plugin interfaces. Although sliders add an intuitive design to your website, most of them cannot translate the contents on the slider and don’t have any easy fixes. It means that visitors could be viewing your website in French or Spanish, but the content of the slider would still be in the native language of the website.
Such a scenario can lead to poor user experiences and a drop in website performance. To prevent this from happening, it’s important for you to use a multilingual translation plugin for your website.
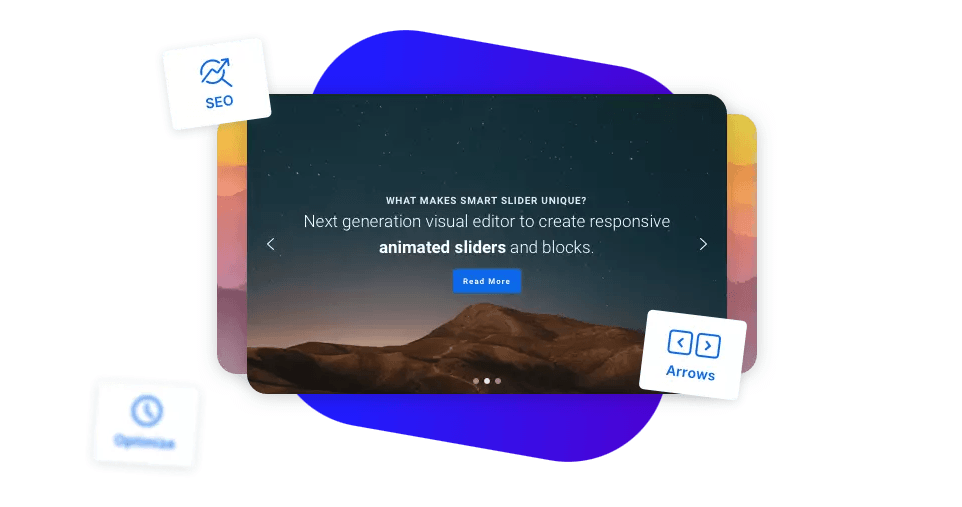
What is, and why make a WordPress translated slider?
To keep it simple, a translating slider makes use of a multilingual translation plugin that automatically translates the content of a website slider. Using an efficient translation plugin impacts the user experience and the website’s SEO performance. This more accurate if you have a slider with many text content like a carousel of review like on the image below.
Also, this is usually the most important message you want to show to your customer on a page!
Traditional plugins such as WPML function by creating duplicates of numerous pages and adding additional database requests, which leads to an increase in the website load time and negatively impacts performance. However, the automatic translation solution offered by Linguise uses a cache system and doesn’t duplicate any content from your database.
The multilingual translation plugin uses a dedicated cache server, and when a translation is required, the plugin checks the server and provides users with an instantly translated version.
Along with detecting static website content, the multilingual plugin detects dynamic content as well. This allows the plugin to translate slider content and static pages of a WordPress website. Such a process has numerous benefits, including an 80% reduction in loading time and improved user experience.

Why use the Linguise multilingual translation plugin
As we mentioned, the multilingual plugin translates static pages and dynamic content, including website sliders, but that is not the only benefit.
When translations are required, the page content is gathered and processed for translation. However, Linguise ensures that no sensitive data, such as usernames or passwords, are collected during the translation process. Along with this, the compatible cache server used for the translations is fully compatible with the website’s own cache server, meaning that you can also use a local caching script.
In addition to ensuring the security of sensitive data and compatibility with cache servers, using Linguise also boosts your website’s SEO performance.
The plugin uses the WordPress Neural Machine Translation to create multiple pages in different languages. These pages are then indexed because they have translated URLs and alternative links. Linguise is also compatible with commonly used SEO plugins and translates the metadata of a webpage as well.
Use your own slideshow or install a slider plugin
Now that you have learned about how the content of a website slider is translated, for the example we’ll install a slider plugin on WordPress. We’ll walk you through the exact steps that are required for installing a slider on your WordPress website.
Finding and installing a slider plugin
Before you dive into creating and installing the slider, you need to find the best slider plugin for your WordPress website.
To find the multiple slider options:
- First, log in to your WordPress admin dashboard.
- Then, click Plugins > Add New
- Go to the Search box from the Plugins page and find the slider plugin you want to use
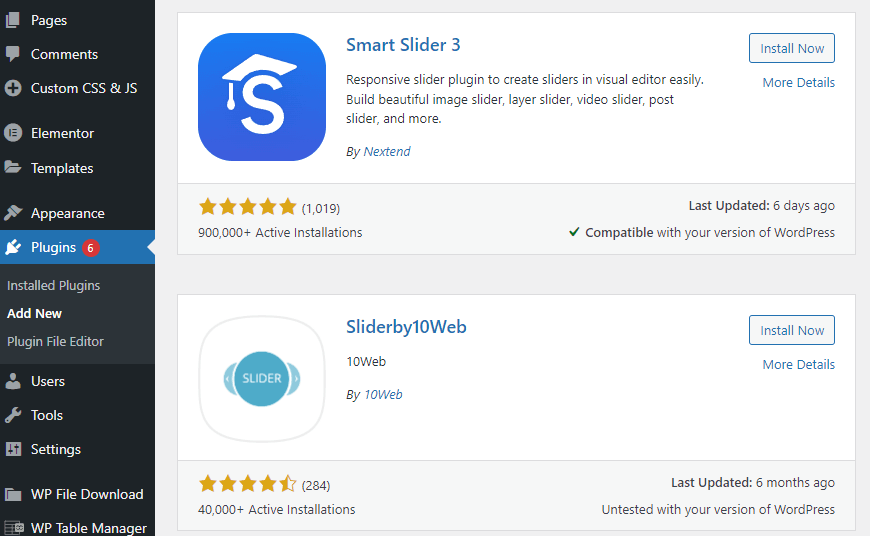
For this example, we have used the Smart Slider 3.

Creating a slider or slideshow in your default language
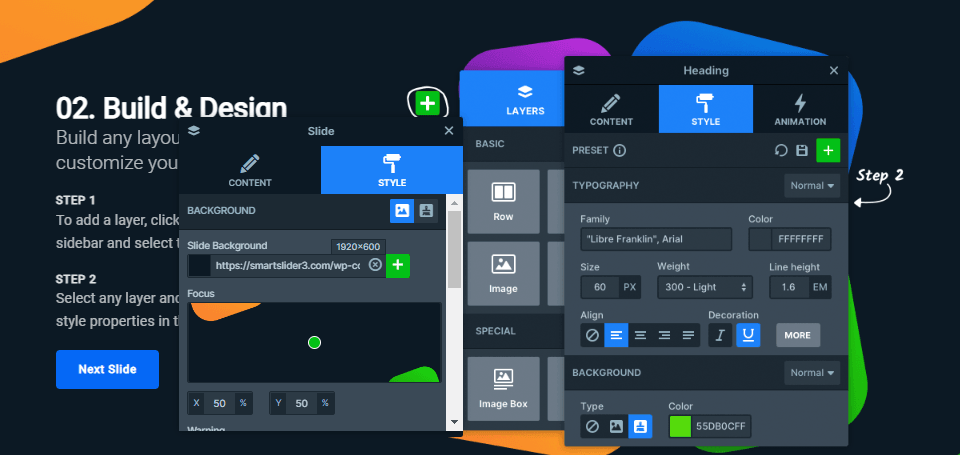
When creating a slider, it’s important to choose a background that integrates with the overall scheme of your website. After you have finalized creating the backgrounds for each slide, you can build and customize your designs with endless possibilities.
Installing the Linguise automatic multilingual translation plugin
When you’ve created and added a slider to your website, installing the Linguise Automatic Multilingual Translation Plugin is next. Linguise provides several different packages for its translation plugin and offers an unlimited amount of translated words in the premium package. Prices for the plugin start from as low as $15 per month.
Once you have created an account and logged into your Linguise dashboard, you will have to set up your domain and save its settings in order to generate an API key. This will be required to activate the translation on your website.
Now that your API key has been generated, you will be required to go to your WordPress dashboard and click Plugin > Add New.
Here you can search for the Linguise Plugin and Install and activate it. When the plugin has been activated, you will enter the API key.

After entering the API, all your languages will be loaded, and you’ll have a slider already translated!
After that, you can set your Language list display settings as per your requirements. You can choose to have a dropdown menu, a side-by-side menu, or a popup menu as well. Along with this, you can also choose whether you want users to see the flag or the language name, or both.
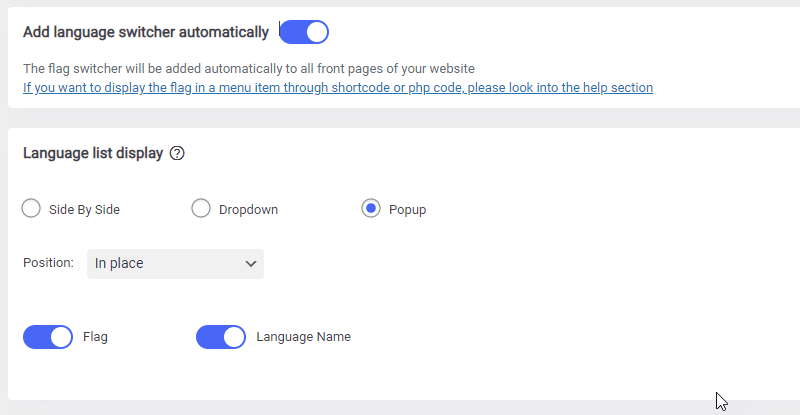

Once finalized, click Save Settings.
Now, your Linguise Automatic Multilingual Translation plugin will do all the heavy lifting behind the scenes and will ensure that your website and slider content is automatically translated.
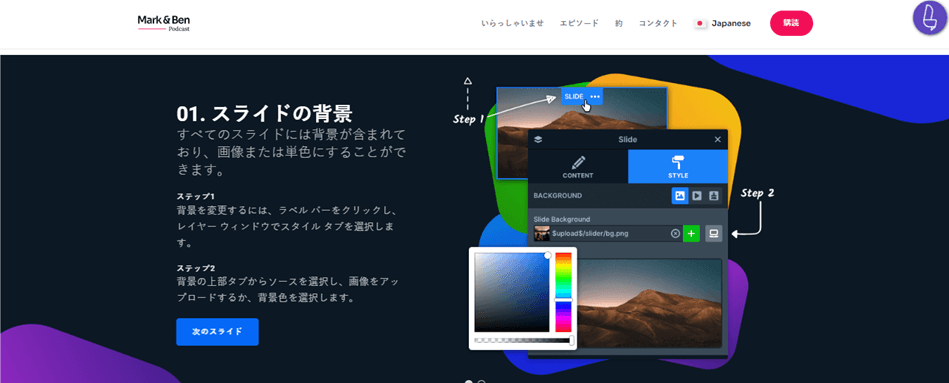
Front-end translation of the slider content
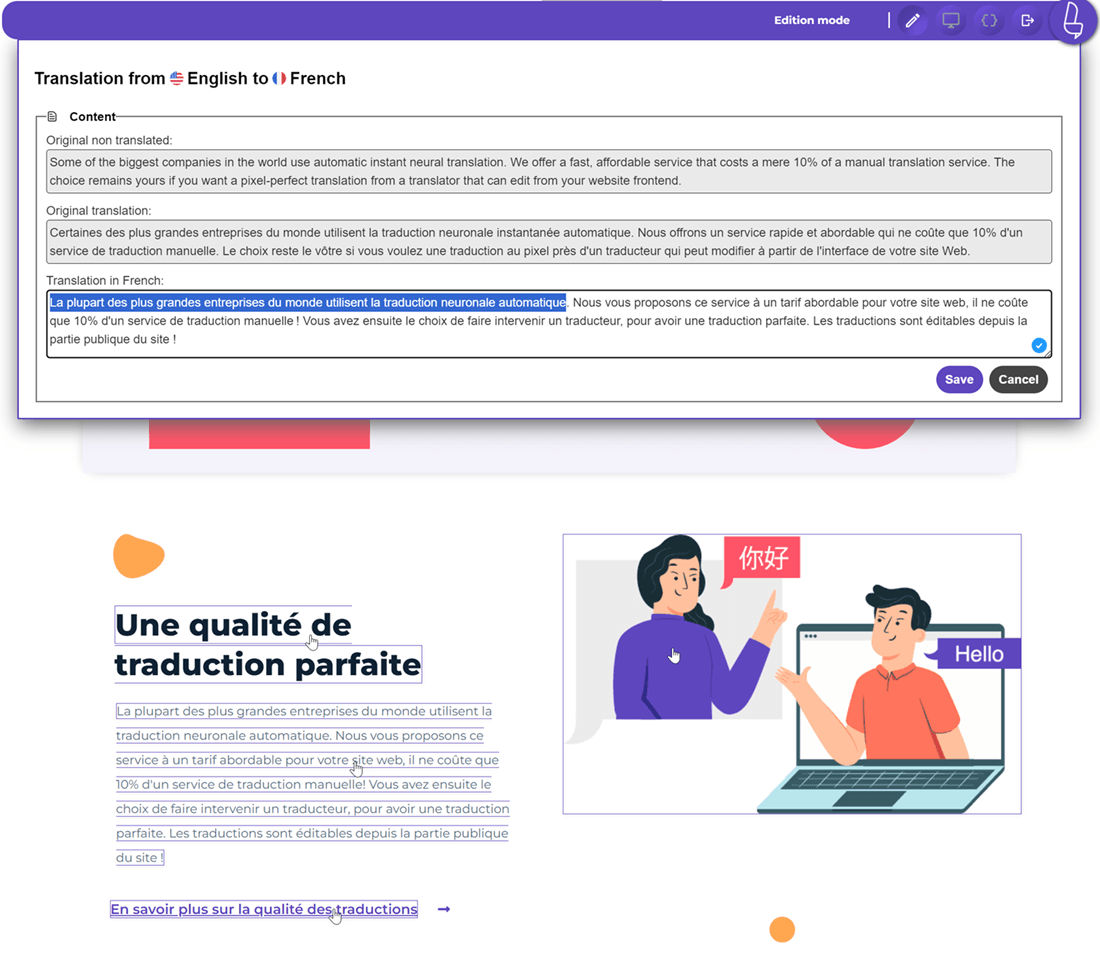
With Linguise live editor you’ll be able to translate your slider from the frontend using the live editor. To do this, you will be required to log in to your Linguise dashboard and access the Live Editor.
Something important, though obvious, to consider before translating is that you need to use a slider plugin that has the possibility to add a layer of text over an image, not images. This is usually the case now in modern plugins.

And then, the Linguise will take care of the rest. Now you can make various changes to the website by clicking on the Linguise icon in the top right-hand corner.
In the editing mode, you can click on any section of the website or the slider, make any changes, and save them for updating the website.
In addition, you can also make changes to the translated meta descriptions to improve the website’s SEO performance.
Conclusion
Although sliders are a great way to make your website more versatile, not many plugins can translate the content of a slider. Where most plugins only translate the static content on a website, Linguise ensures that both the static and dynamic content, including the website slider, are translated when required.
Changes and configurations for the Linguise Automatic Multilingual Translation Plugin can be made by accessing the plugin’s dashboard from WordPress. In addition to this, you can also use the Live Editor available in the Linguise dashboard to make front-end editions.

