Setting up a language switcher on Magento is essential. This feature is crucial for websites targeting an international audience, as the ability to effortlessly switch between languages has become a pressing need in the current market.
While the process might seem daunting initially, this guide will walk you through the steps to set up a language switcher on your Magento website efficiently and effectively. By following these instructions, you can implement this valuable feature smoothly, enhancing your site’s ability to cater to a diverse, multilingual audience.
Why should you setup a language switcher for Magento?
Here are four key reasons you should set up a language switcher for Magento.
- Enhanced User Experience: A language switcher allows visitors to access content in their preferred language, improving their understanding and engagement with your website. For example, a Spanish-speaking customer visiting an English-based Magento store can easily switch to Spanish, making it simpler to browse products, read descriptions, and complete purchases.
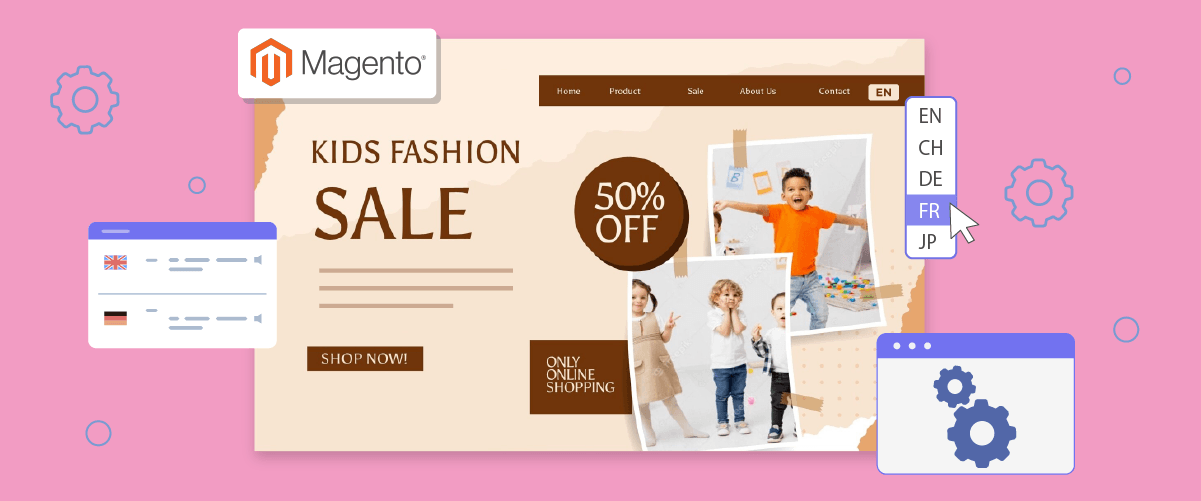
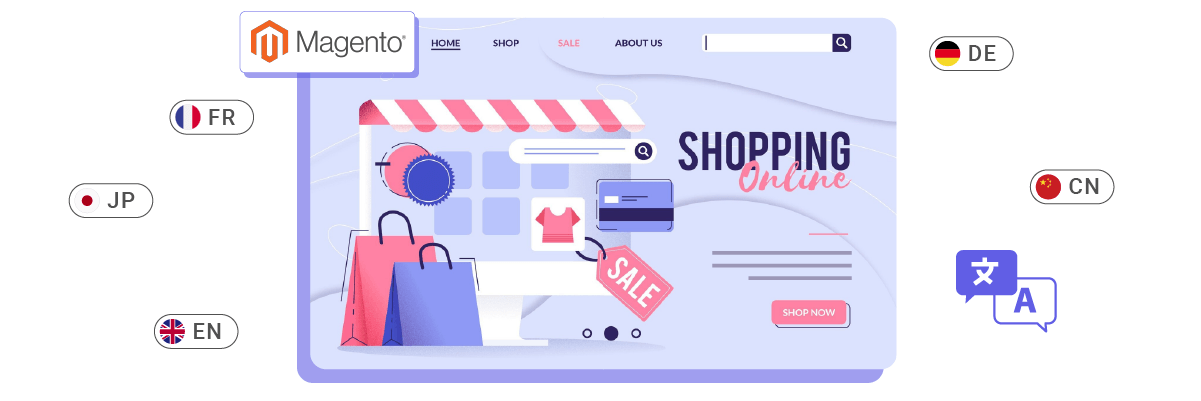
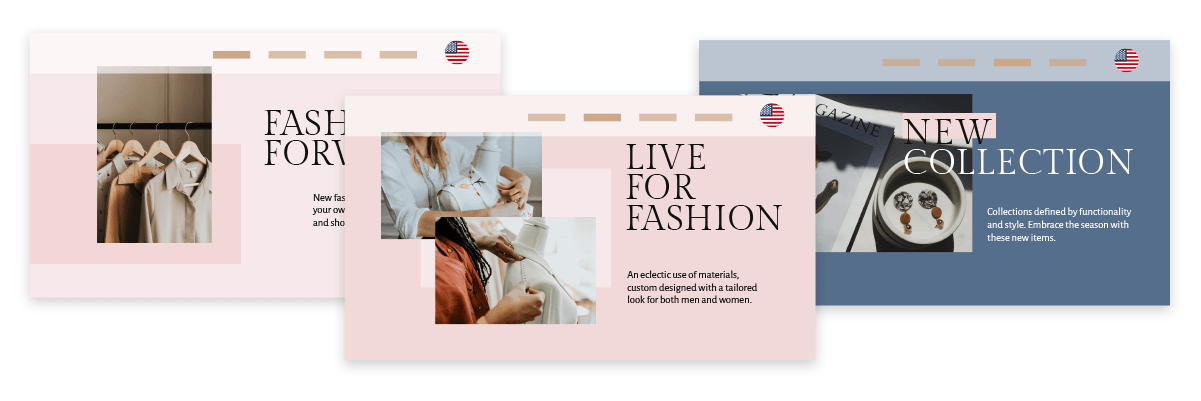
- Expanded Market Reach: By offering multiple languages, you can target a global audience and enter new markets, potentially increasing your customer base and sales. For example, an online clothing store in the US implements a language switcher with options for English, French, and German. This allows them to market their products effectively to customers in Canada and other European countries without creating separate websites.
- Improved SEO Performance: A well-implemented language switcher can boost your multilingual SEO efforts, making your site more visible in search results across different languages and regions. For example, a Magento-based electronics store offers content in both English and Japanese. When Japanese users search for products in their language, the store’s Japanese pages are more likely to appear in search results, driving more targeted traffic.
- Increased Conversion Rates: When visitors can understand product details, policies, and the purchasing process in their native language, they’re more likely to complete transactions and become customers. For example, an Italian customer browsing an international beauty products store on Magento finds the option to switch to Italian. They can now easily understand the product ingredients, usage instructions, and shipping policies, increasing their confidence to purchase.
By implementing these features, you make your Magento store more accessible and user-friendly for a diverse, global audience, potentially increasing web traffic, engagement, and sales.
How to setup a language switcher on Magento?
Website translation services generally offer this functionality, which can be tailored to suit your specific requirements.
However, it’s worth noting that not all translation services provide a language switcher that is easily customizable and user-friendly. Thus, selecting an automatic translation service compatible with various frameworks and offering a flexible language switcher feature is crucial.
One service that stands out in meeting these criteria is Linguise. It provides a language switcher feature that is easily customizable and user-friendly and integrates seamlessly with Magento.
By leveraging Linguise’s smooth integration with the Magento CMS, you can effortlessly incorporate a language switcher into your multi-language website. With Linguise features and intuitive interface, setting up and maintaining a language switcher on your Magento website becomes significantly more straightforward. The following section outlines the steps to install Linguise on a multilingual Magento website and configure the language switcher.
Step 1: Register for a free Linguise account
First, sign up for a Linguise account at no cost and take advantage of a one-month trial period. The registration process is straightforward – simply provide your email address to create your login credentials.
During this trial phase, you’ll have access to Linguise’s impressive features. Once the trial period ends, you’ll be automatically redirected to the Linguise dashboard.
Step 2: Adding domain website Magento
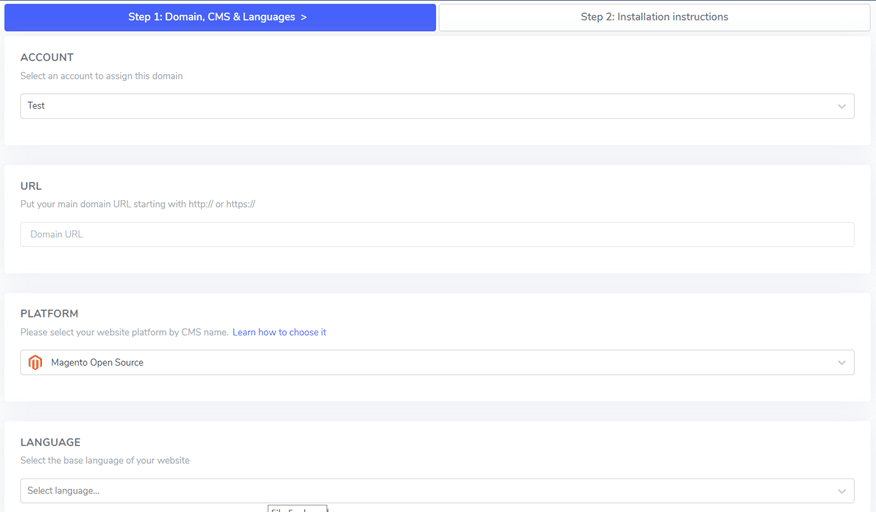
After successfully creating your Linguise account, you’ll be redirected to the dashboard. There, you’ll need to add your website’s domain information. Look for the “Add domain” option and click on it. You’ll then be presented with a form containing several fields to fill out:
- Account details
- Website URL
- Platform selection (choose Magento)
- The primary language of your site
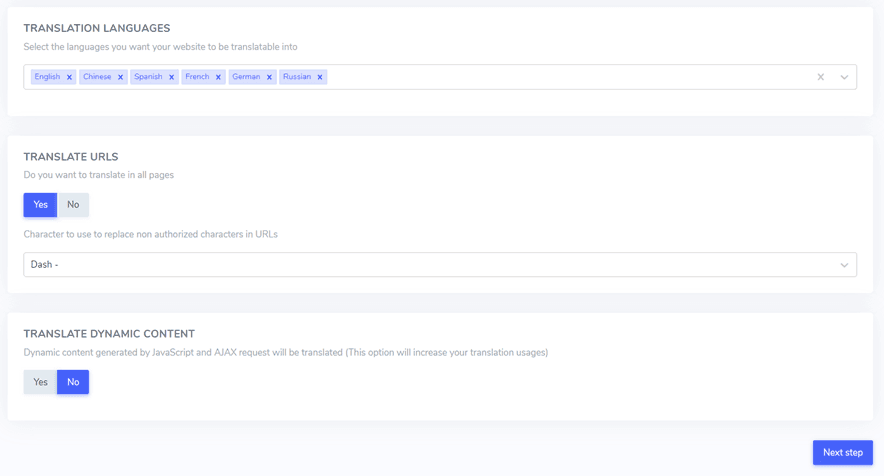
- Languages you want to translate into
- Option to translate URLs
- Setting for dynamic content translation
Once you’ve completed all the necessary information, click the “Next Step” button.
In the following stage, you’ll need to input an API key. This key will be provided to you and is essential for the setup process.
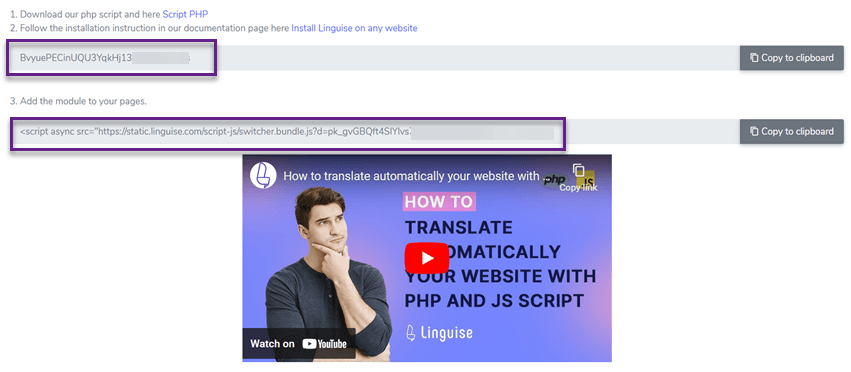
Step 3: Upload the Linguise script
The next step involves adding the Linguise translation script to your Magento server:
- Obtain the PHP-JS translation script from Linguise.
- Extract the contents of the downloaded file.
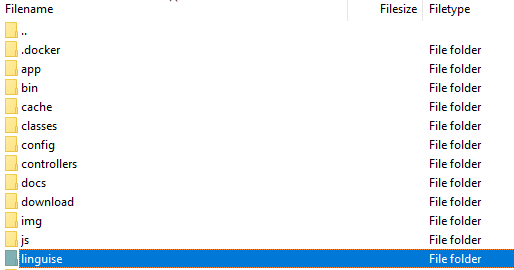
- Transfer the extracted files to the main directory of your Magento installation.
Ensure that:
- The script is positioned at the top-level directory of your website alongside your Magento files.
- The folder maintains its original name, “linguise”.
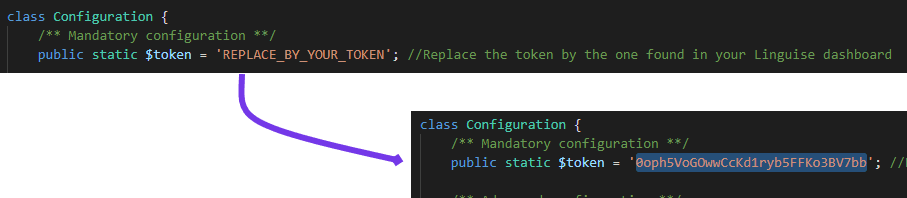
Following this, you must incorporate your Linguise API key into the Configuration.php file you’ve just uploaded. Open this file for editing, locate the placeholder text “REPLACE_BY_YOUR_TOKEN”, and substitute it with your actual API key, keeping it within the quotation marks.
Step 4: Configure the URL rewriting for Magento
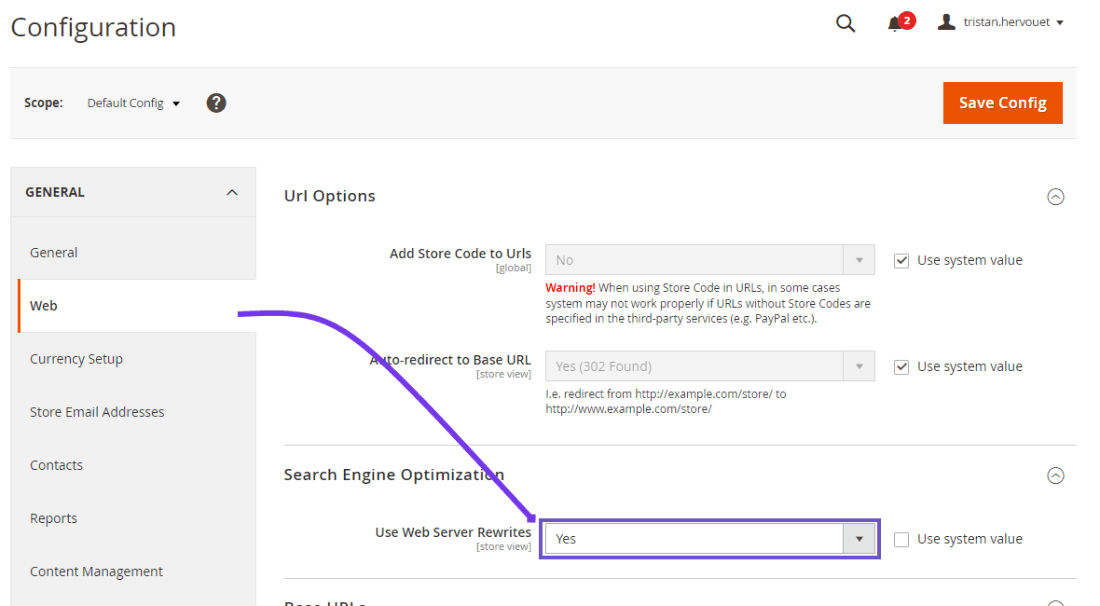
Acess your Magento admin panel and follow this path through the sidebar menu: Stores > Settings > Configuration > General > Web > Search Engine Optimization
Once there, locate and activate the “Use Web Server Rewrite” option.
Next, you’ll need to set up language-specific URLs in your .htaccess file. Open the default Magento 2 .htaccess file and find the line that reads “RewriteEngine on”. Immediately after this line, you’ll insert a specific code snippet.
This configuration allows Magento to properly handle and route requests for different language versions of your site, enhancing your multilingual setup.
Remember, modifying the .htaccess file requires careful attention to detail, as incorrect changes can affect your site’s functionality. If you’re not comfortable making these changes yourself, consider seeking assistance from a developer familiar with Magento configurations.
					<IfModule mod_rewrite.c>
    RewriteEngine On
    RewriteRule ^(af|sq|am|ar|hy|az|eu|be|bn|bs|bg|ca|ceb|ny|zh-cn|zh-tw|co|hr|cs|da|nl|en|eo|et|tl|fi|fr|fy|gl|ka|de|el|gu|ht|ha|haw|iw|hi|hmn|hu|is|ig|id|ga|it|ja|jw|kn|kk|km|ko|ku|ky|lo|la|lv|lt|lb|mk|mg|ms|ml|mt|mi|mr|mn|my|ne|no|ps|fa|pl|pt|pa|ro|ru|sm|gd|sr|st|sn|sd|si|sk|sl|so|es|su|sw|sv|tg|ta|te|th|tr|uk|ur|uz|vi|cy|xh|yi|yo|zu|zz-zz)(?:$|/)(.*)$ linguise/linguise.php?linguise_language=$1&original_url=$2 [L,QSA,END]
</IfModule>
Step 5: Activate & customize language switcher
The language switcher is a flag popup that allows users to select their preferred language. To load it, copy the code provided at the end of the website configuration and place it in the head of your HTML page. The flag language switcher will then load automatically.
You can find the code to copy and load in your website header in your Linguise dashboard by navigating to Your Domain > Settings > Tab > Script PHP.

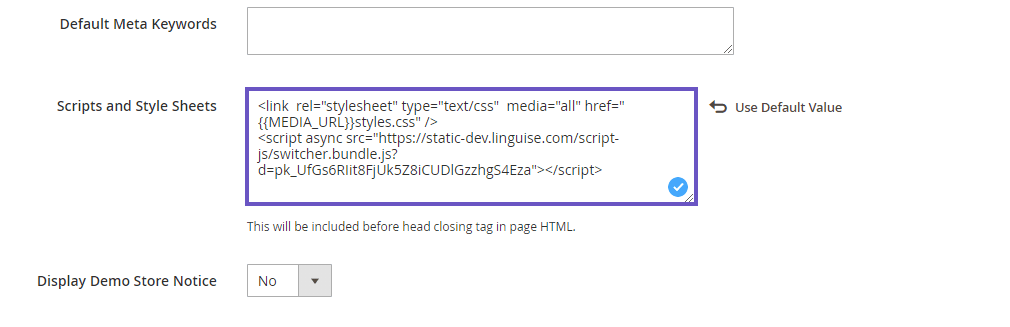
This code should be inserted into the header of your page. Magento 2 enables you to add content to the head of your page via the configuration settings.
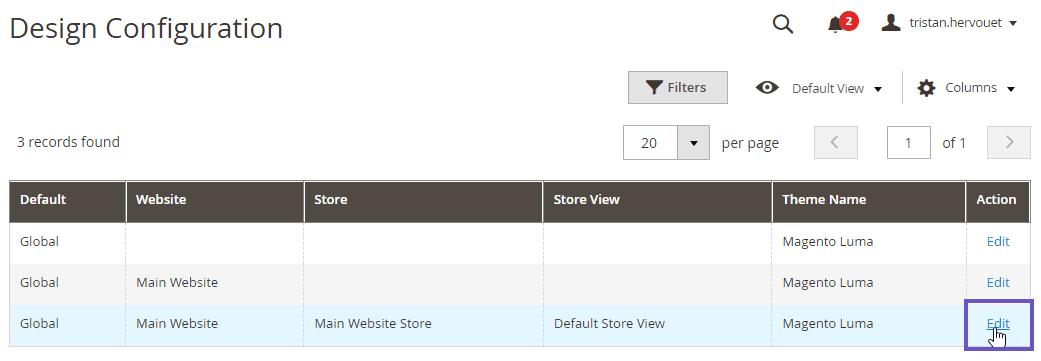
In the admin panel, navigate to Content > Configuration and edit your default store theme view. Next, click the HTML Head section and paste the copied script into the Scripts and Style Sheets input field. Finally, save the configuration.
The language switcher is initially displayed in a floating position at the bottom right of your website. You can customize its appearance and placement by navigating to the Linguise dashboard > Settings > Language Flags Display.
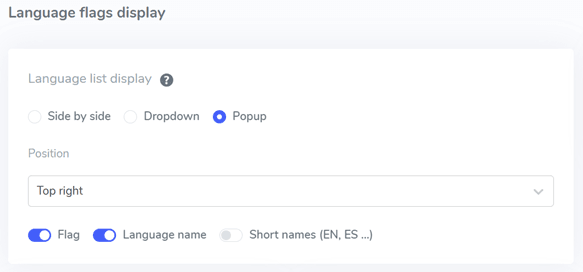
Step 6: Set up the main display
The language switcher appears by default in a floating position at the bottom right of your website. You can adjust its appearance and placement through the Linguise dashboard by going to Settings > Language Flags Display.
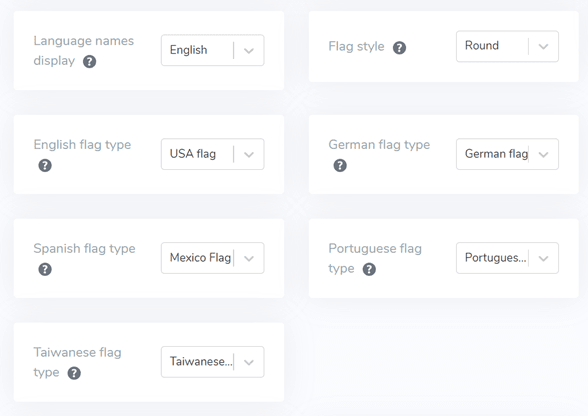
Step 7: Configure the flag design
After adjusting the main display settings, you can further customize the design of the language flags.
- Language Name Display: You can choose to show the language name based on the country or the language itself, such as “French” or “Français.”
- English Flag Type: This is useful for languages with multiple variations, such as US or British English, Spanish, Taiwanese, German, and Portuguese.
- Flag Style: Select the shape of the flag icon, either round or rectangular.
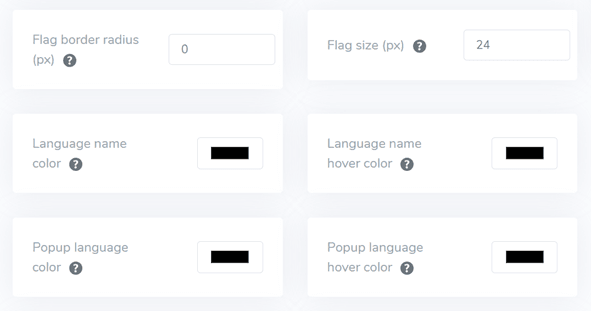
Step 8: Set the color and size
After finalizing the flag design, you can proceed to customize the color and size of the flags with the following settings:
- Flag Border-Radius: Adjust the border-radius for the rectangular flag style, measured in pixels.
- Language Name Color: Choose the default text color for the language name.
- Popup Language Color: Set the color for the language title text in the popup or dropdown area.
- Flag Size: Adjust the size of the flag icons.
- Language Name Hover Color: Define the text color that appears when the user hovers over the language name.
- Popup Language Hover Color: Specify the text color that appears when the user hovers over the language title in the popup or dropdown area.
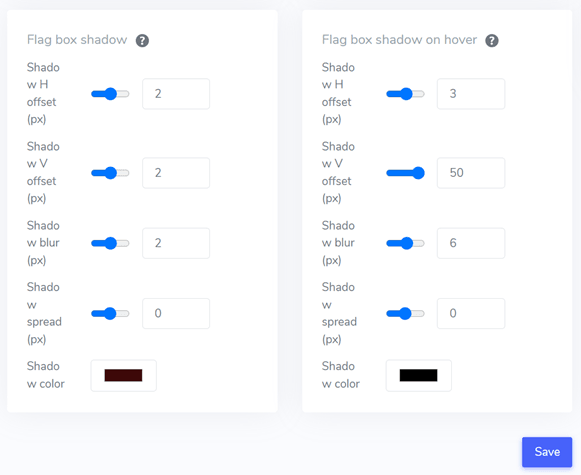
Step 9: Set up the flag box-shadow
Lastly, you can adjust the flag-box shadow settings. The first option allows you to add a shadow effect to each flag icon displayed on your website. The second option controls the shadow effect when users hover their mouse over the language flags.
Once you’ve made all the necessary adjustments, click the Save button to apply the customization changes. Then, go to your Magento website to verify that the configuration has been successfully applied. This will give you an idea of how the language switcher will be displayed.
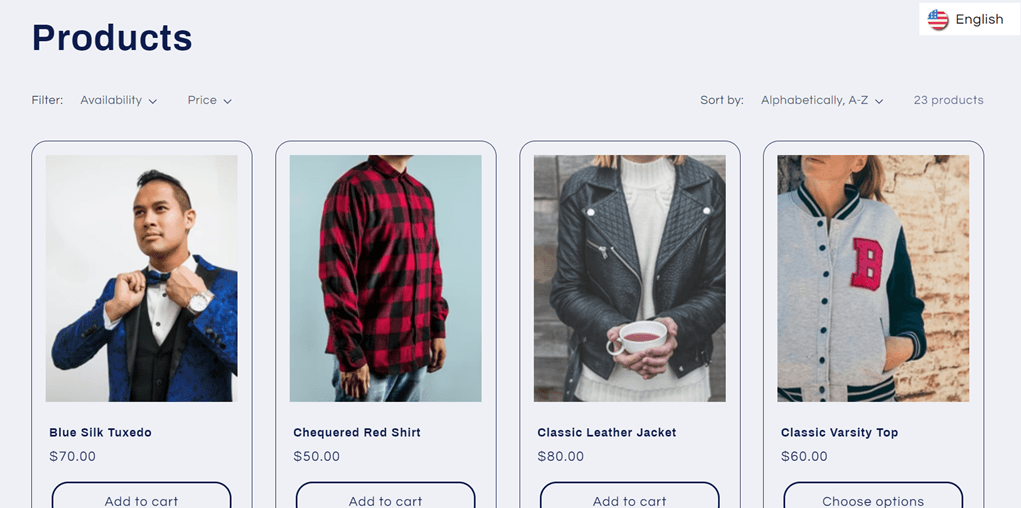
After completing the setup, you can see the language switcher on your Magento multilingual website.
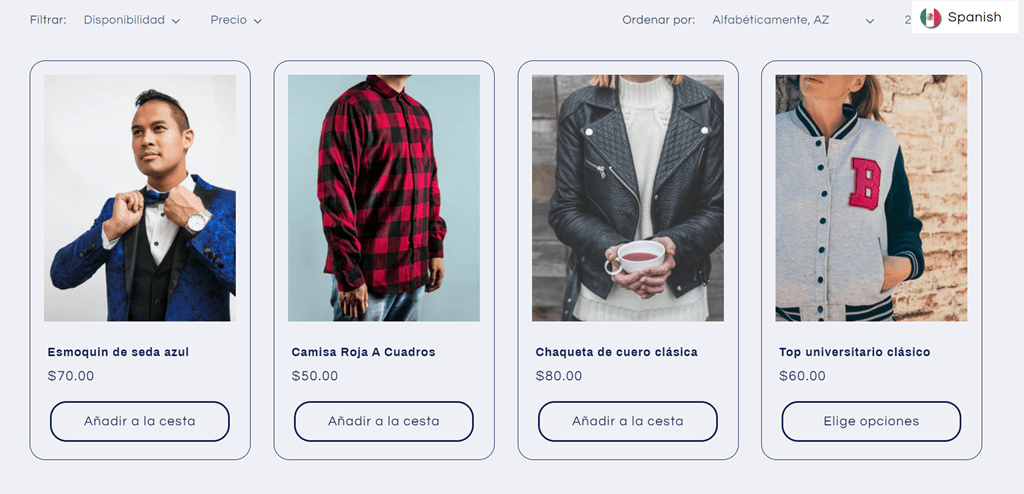
We will automatically translate the Magento website into other languages, such as Spanish.
4 strategies for enhancing the language switcher on Magento
Once you’ve set up the language switcher on your Magento multilingual website, you must grasp optimal strategies for designing a language selector and optimizing its performance to enhance your site and user experience.
Implement easily language indicators
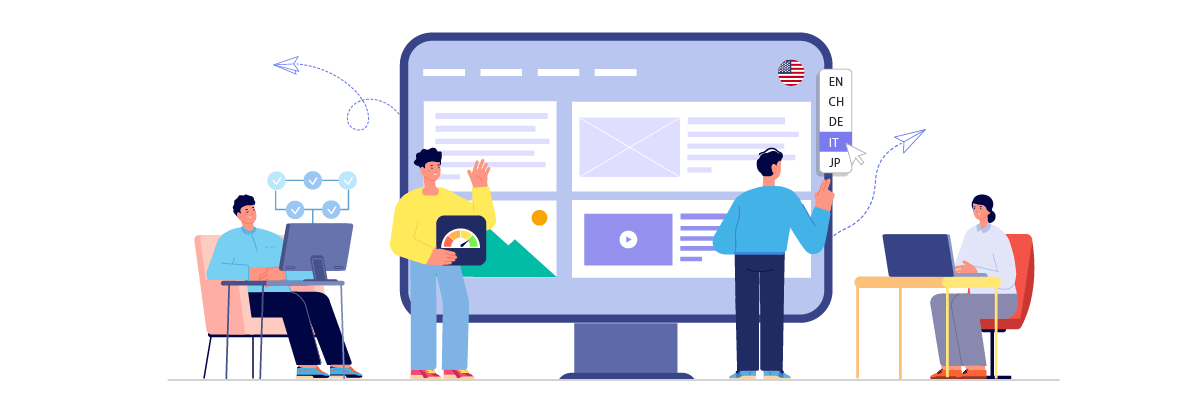
Using universally recognized language symbols or flags in your language switcher is crucial. This allows visitors to locate and choose their preferred language quickly. Implementing familiar symbols creates an intuitive user experience, enabling visitors to navigate effortlessly to their desired language version. The key is to select globally recognized indicators to prevent misinterpretation.
For example a multilingual e-commerce site selling sports equipment. Their language switcher could use a combination of country flags and language abbreviations:
- EN (for English)
- ES (for Spanish)
- FR (for French)
- DE (for German)
- JP (for Japanese)
This approach combines visual cues (flags) with text (language codes), making it easy for users from different backgrounds to identify their preferred language. The flags are instantly recognizable, while the abbreviations provide additional clarity.
For instance, a Spanish-speaking visitor could quickly spot the Spanish flag and ‘ES’ abbreviation, allowing them to switch the site to Spanish with just one click. This user-friendly design enhances the overall browsing experience and potentially increases engagement and conversions on the site.
Combine language names and flags
While flags are visually appealing, it’s beneficial to pair them with the native names of the languages. This strategy helps prevent confusion, especially since some languages are used in multiple countries with distinct flags.
Using the actual language names eliminates ambiguity, ensuring visitors can accurately identify and choose their preferred language without misunderstandings. Furthermore, this approach promotes inclusivity and shows respect for cultural diversity.
For example a global news website that caters to a diverse audience. Their language switcher might look like this.
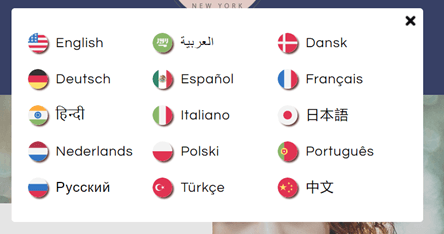
In this case:
- The use of flags provides quick visual cues.
- The language names are written in their native script (like Japanese, French, etc), which is instantly recognizable to speakers of that language.
This approach is particularly helpful for languages like Spanish or English spoken in multiple countries. For instance, a user from Mexico or Argentina would see “Español” rather than choose between multiple Spanish-speaking country flags. Similarly, users from the UK, USA, Australia, or other English-speaking countries can all identify with “English” regardless of the flag used.
Strategically position the language switcher
It’s crucial to place the language switcher in a prominent, easily accessible location on your website. Common and effective positions include the header, footer, or main navigation menu. These spots are intuitive for most web users and align with their expectations when looking for language options.
Maintaining consistent placement across all pages ensures visitors can readily access the language switcher, regardless of their entry point or current page. This consistency contributes to a smooth and predictable user experience.
For example a international hotel booking website that caters to a global audience. They could implement their language switcher strategy as follows.
- Header Placement: The language switcher is located in the top-right corner of the header, next to the user account icon and currency selector. It’s visible on every page and allows users to switch languages anytime during their browsing or booking process.
- Consistent Design: The language switcher appears as a globe icon followed by the current language (e.g., “🌐 English”). When clicked, it opens a dropdown menu with other language options.
- Footer Backup: The footer includes a text-based list of all available languages, providing an alternative access point.
This strategic placement ensures that whether a user lands on the homepage, a specific hotel page, or the booking confirmation page, they can easily find and use the language switcher. For instance, a French user browsing hotel options in Tokyo can quickly switch the site to French for an easier understanding of room descriptions and booking terms, enhancing their user experience and potentially increasing the likelihood of completing a reservation.
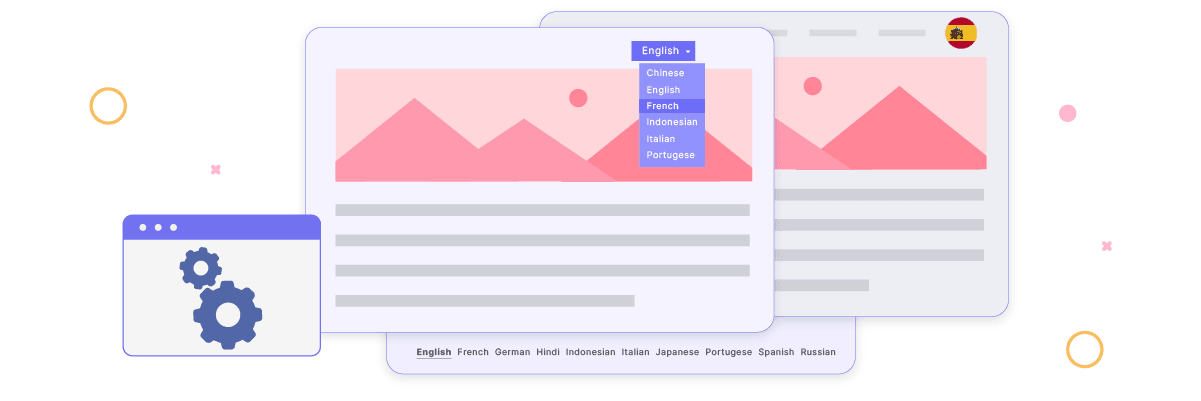
Maintain consistency in language switcher across all pages
It’s vital to ensure that the language switcher maintains a uniform appearance and functionality throughout your website. Users should be able to change languages effortlessly, regardless of their current page or the content they’re viewing. This consistency provides a seamless user experience and reinforces the accessibility of language options, fostering trust and confidence in your multilingual website.
For example, a global e-commerce platform selling electronics. Here’s how they might implement a consistent language switcher strategy.
- Uniform Design: The language switcher appears as a globe icon with the current language code (e.g., “🌐 EN”) in the top-right corner of every page, including product listings, individual product pages, shopping carts, and checkout pages.
- Consistent Functionality: Clicking the language switcher always opens the same dropdown menu with all available languages, regardless of the page.
- Content Preservation: When users switch languages, they remain on the same page, but the content is displayed in the newly selected language. For instance, if a user is viewing a laptop’s specifications in English and switches to Spanish, they see the same laptop’s details, now in Spanish.
- URL Structure: The URL structure changes consistently when switching languages. For example:
Case Study: A Japanese customer browsing laptops on the English version of the site decides to switch to Japanese for better understanding. They click the “🌐 EN” icon in the header, select “日本語” from the dropdown, and the page refreshes, showing the same laptop details but in Japanese. The URL changes from “/products/…” to “/ja/製品/…”.
This consistent experience across all pages and functions of the site ensures that the user can confidently navigate and shop in their preferred language, potentially increasing their likelihood of completing a purchase and returning to the site in the future.
Setup language switcher on Magento with Linguise!
By now, you should be aware that you’re setting up a language switcher for a multilingual Magento website. Implementing a language switcher can offer numerous benefits and be customized according to our guidelines.
Optimizing your language switcher can significantly enhance the overall user experience on your Magento site. The next step is to create a Linguise account, integrate it with your Magento website, and fine-tune the language switcher settings. These actions will improve the user experience, making your multilingual e-commerce site more accessible and user-friendly.
Remember, a well-implemented language switcher on your Magento platform can lead to better engagement, increased conversions, and improved customer satisfaction across different language markets. It’s a crucial element in creating a truly multilingual website.