Setting up a language switcher on Craft CMS is a crucial feature for any website aiming to reach a global audience. In today’s globalisation era, the ability to switch between multiple languages seamlessly is a pressing need.
Setup a language switcher on Craft CMS enhances accessibility for visitors from various countries, can improve search engine rankings, and can build global brand trust. While it may sound complex, this step-by-step guide will help you do it smoothly and efficiently on your Craft CMS website.
Importance to setup a language switcher on Craft CMS

Before delving into how to set up a language switcher on Craft CMS, let’s first discuss the importance of setting up a language switcher. Here are some of them.
- Better User Experience: A language switcher allows visitors to easily access content in their preferred language, thus enhancing their understanding and engagement with the website.
- Reducing Bounce Rates: Visitors who cannot find their desired language may potentially exit your website immediately. A language switcher that provides multiple languages can prevent them from leaving the site.
- Increasing Conversions: Understanding product details, policies, and the purchasing process in their language can encourage visitors to purchase or take other actions.
- Optimizing Multilingual SEO: Search engines consider user experience factors when ranking websites. A user-friendly language switcher can improve your multilingual SEO ranking by making it easier for visitors to access content in their language. Correctly translating content also sends positive signals to search engines that your site is relevant for various queries in different languages.
How to setup a language switcher on Craft CMS
After understanding the importance of using a language switcher on a multilingual Craft CMS website, let’s discuss how. Typically, website translation services offer this feature, which can be customized according to your needs.
However, not all translation services provide a language switcher that is easily customizable and user-friendly. Therefore, choosing an automatic translation service compatible with various frameworks and providing a flexible language switcher feature is important.
One service that meets these criteria is Linguise. Linguise offers a language switcher feature that is easily customizable and user-friendly and can be well integrated with Craft CMS.
By using the seamless integration of Linguise with the Craft CMS framework, you can easily add a language switcher to your multilingual application. With Linguise’s advanced features and user-friendly interface, setting up and maintaining a language switcher on your Craft CMS website will be much simpler.
Below are the steps to install Linguise on a multilingual Craft CMS website and set up the language switcher.
#1: Register for a free Linguise account
Register for a free Linguise account and benefit from a complimentary one-month trial to get started. Simply input your email address to generate a username and password.
Throughout the trial duration, you’ll enjoy access to all the compelling features Linguise has to offer. You’ll be directed to the Linguise dashboard upon the trial’s conclusion.
#2: Adding domain website Craft CMS
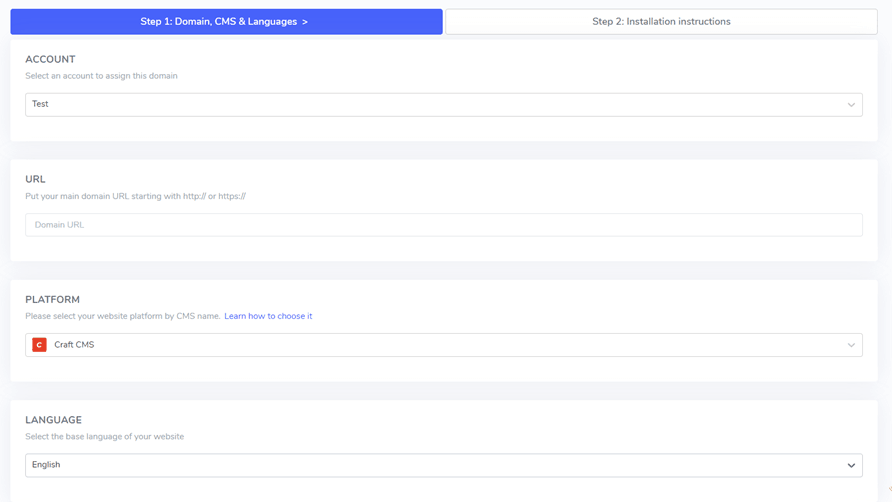
Once your Linguise account is created, you’ll be directed to the dashboard to input your Craft CMS website domain. Select “Add domain” and complete the fields provided:
- Account
- URL
- Platform used (Craft CMS)
- Default language
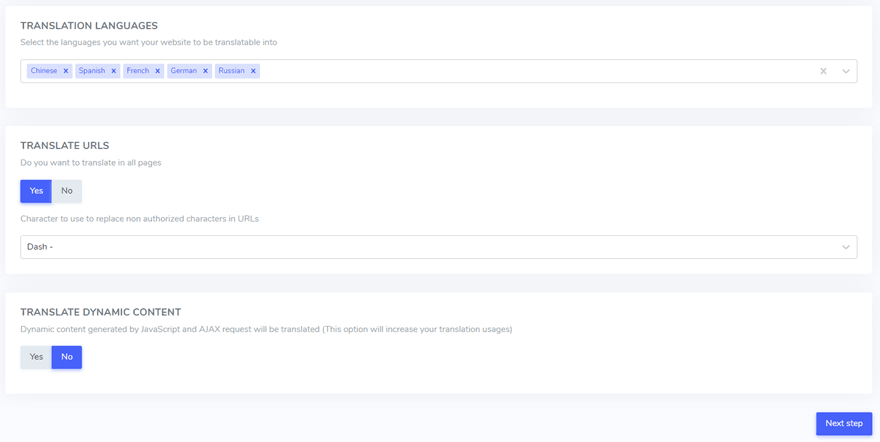
- Translation languages
- Translate URLs
- Dynamic content translation
You can obtain the API key, which you must paste in the subsequent step.
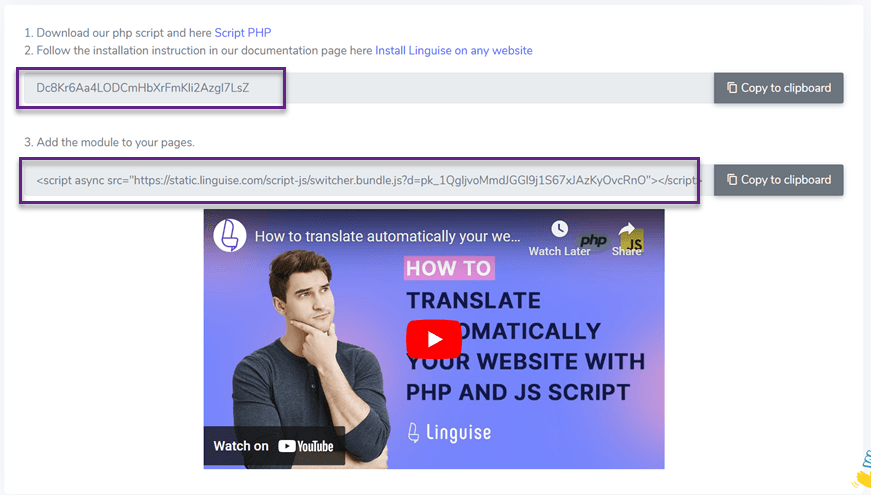
#4: Upload the Linguise script
Next, you’ll need to upload the Linguise translation script to your server where Craft CMS is installed.
Download the PHP-JS translation script, unzip it, and upload it to the root directory of your Craft CMS installation.
Ensure that the script is placed in your website’s root directory, where your Craft CMS files are situated, and that the folder maintains its original name, “linguise.”
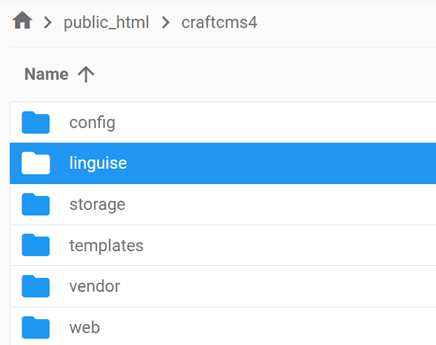
Afterwards, insert the Linguise API key into the Configuration.php file you uploaded to your server. Open the file for editing and paste your API key within the quotes, replacing the text REPLACE_BY_YOUR_TOKEN.

#5: Enable & customize the language switcher
The Linguise JS script link needs to be incorporated into all pages of your Craft CMS to display the language switcher with flags and to include alternate URLs in your HTML headers for SEO benefits.
To obtain the script link, navigate to the domain settings within the Linguise dashboard and copy the provided script link from there.

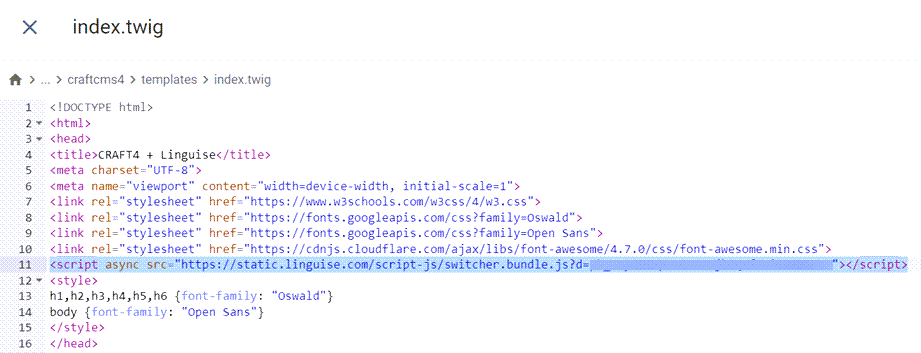
An easy way to incorporate this code into Craft CMS is by adding it to your template index. Access the /template folder and edit the index file to include the script link in the header section.
To display the language switcher, represented by the flag popup for selecting your desired language, you can load it by copying the provided code at the end of the website configuration and pasting it into the head of your HTML page. This action will enable the automatic loading of the flag language switcher.
The language switcher will initially display in its default format, but you can personalize it. Customize the language switcher through the Linguise dashboard by accessing Settings > Language flags display. This section includes various customization options, including the main display, language names, and design elements.
#6 Configure main display
To initiate the language switcher’s configuration, go to the “Settings” > “Language flags display” section within the Linguise dashboard.
In this section, you can customize several settings. Firstly, there are the main display settings, where you can modify various elements such as.
- Flag icon style: You can choose between side-by-side display, dropdown menu, or popup.
- Position: This setting dictates the placement of the language switcher on your website. There are several position options, so ensure you select one that is convenient for visitors to access.
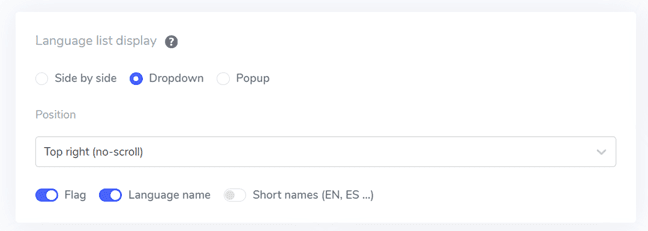
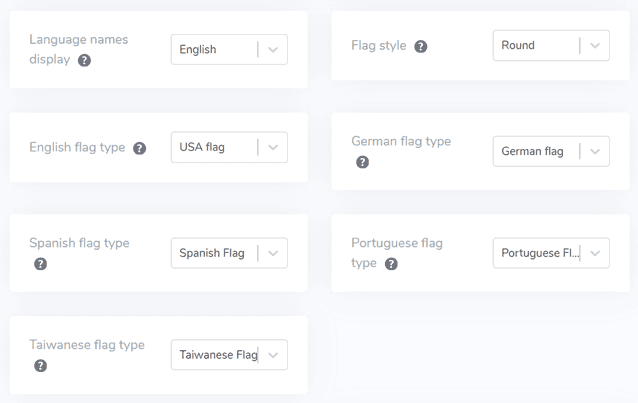
#7 Set the flag design
Once you’ve adjusted the main display settings, you can proceed to tailor the design of the displayed flags.
- Language name display: You can display the language name based on either the country name or the language itself. For instance, you can show “French” or “Français.”
- English flag type: This feature benefits languages with multiple variations, like US or British English. It’s also applicable to Spanish, Taiwanese, German, and Portuguese.
- Flag style: This option enables you to select the shape of the flag icon, either round or rectangular.
#8 Set the color and size
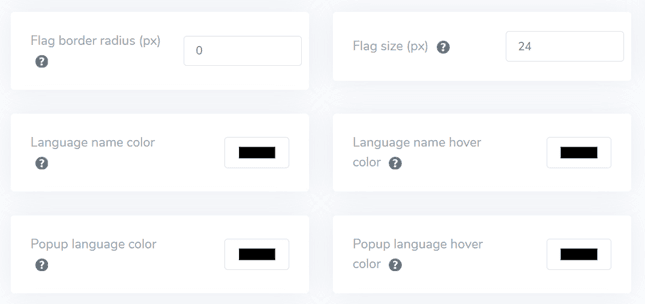
Once you’ve completed the flag design configuration, you can proceed to customize the color and size of the flags. Below are some settings available for adjustment.
- Flag border-radius: Tailor the border-radius for the rectangular flag style, measured in pixels.
- Language name color: Select the default text color to display the name.
- Popup language color: Define the color for the language title text in the popup or dropdown area.
- Flag size: Modify the size of the flag icons.
- Language name hover color: Specify the text color that appears when the user hovers over the language name.
- Popup language hover color: Determine the text color that appears when the user hovers over the language title in the popup or dropdown area.
#9 Configure box shadow
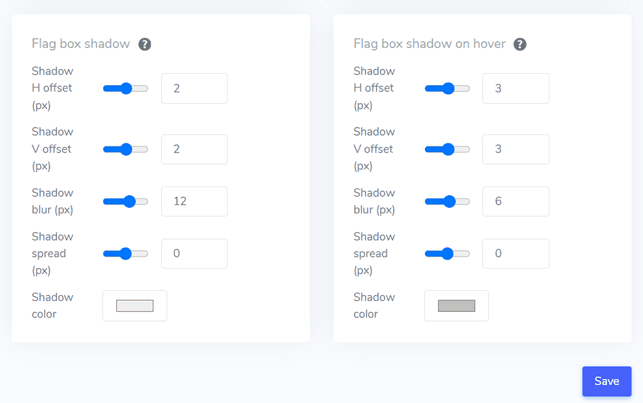
Lastly, you can adjust the flag-box shadow settings. The initial option allows you to add a shadow effect to each flag icon shown on your website. The subsequent option manages the shadow effect when users hover their mouse over the language flags.
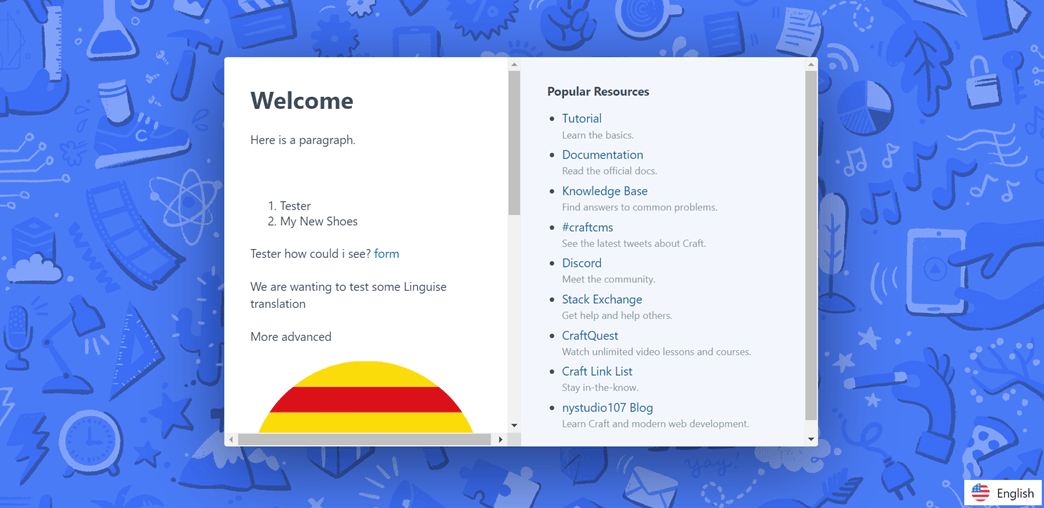
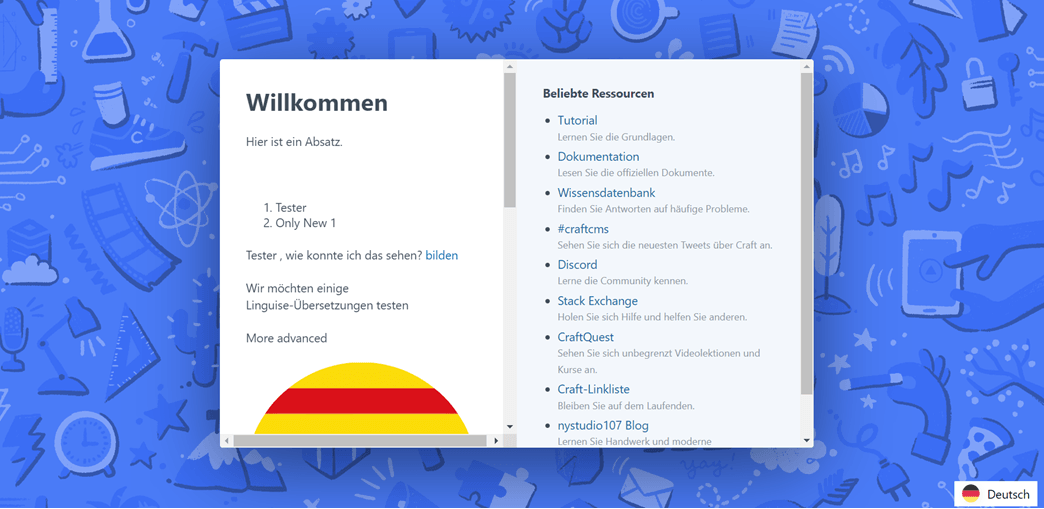
Once you’ve made all the necessary adjustments, click the Save button to implement the customization changes. Then, proceed to your Craft CMS website to confirm that the configuration has been successfully applied. This is roughly how the language switcher will be displayed.
After finishing the setup process, you can observe the language switcher’s functionality on your Craft CMS multilingual website.
We will then automatically translate the Craft CMS website into other languages like Deutsch.
5 tips to optimizing language switcher on Craft CMS
Once you’ve established the language switcher on your Craft CMS multilingual website, it’s important to understand best practices for designing a language selector and its performance to benefit both your site and visitors.
Use an easily recognizable language flag logo
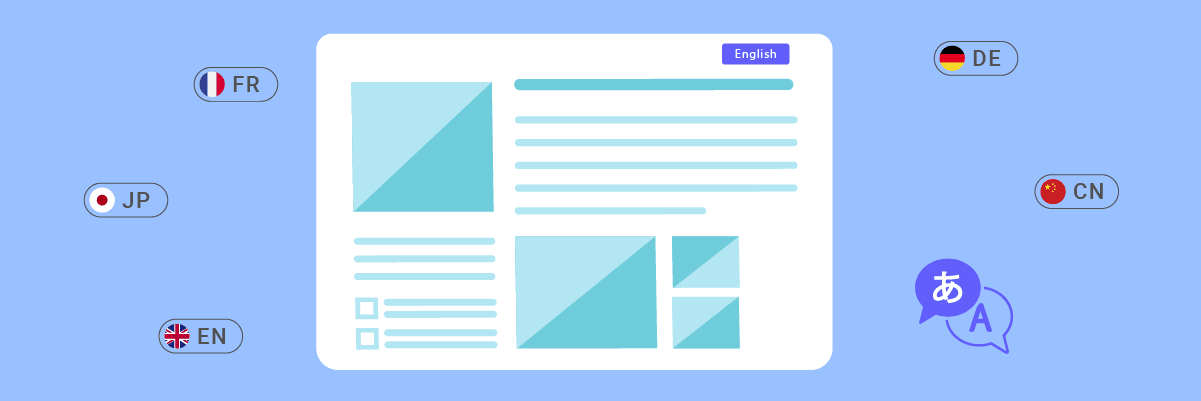
Using universally recognized language icons or flags is crucial so visitors can quickly identify and select their preferred language option. Ensure that the icons or flags used are clear, have good color contrast, and are widely understood across different cultures to avoid confusion or ambiguity.
Familiar symbols or icons help create an intuitive and user-friendly experience, allowing visitors to navigate to their desired language version easily. It’s highly important to choose icons or flags that are universally known to avoid misunderstandings or confusion.
Using language names and flag
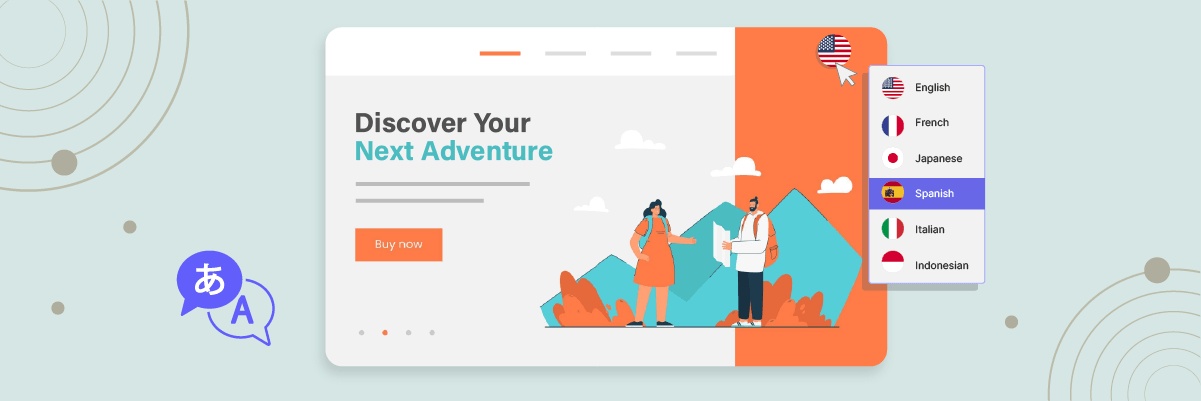
In addition to solely using flags, it’s advisable to consider incorporating both flags and the original language names. This approach can help avoid confusion since some languages are spoken in multiple countries with different flags.
Directly using language names eliminates ambiguity and ensures visitors can clearly identify and select their desired language without misunderstanding. Moreover, using language names can be more inclusive and respectful of cultural diversity.
Place the language switcher button strategically
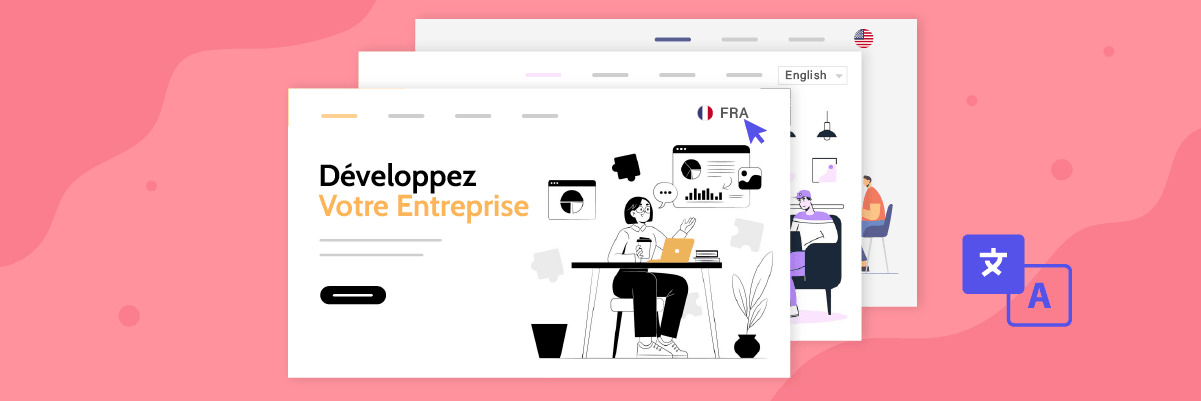
Let’s position the language switcher button in a prominent and easily accessible area on your website. Standard placements include the header, footer, or main navigation menu. These locations are intuitive for most internet users and align with their expectations when searching for language options.
Consistent placement across all pages ensures that visitors can easily access the language switcher regardless of their entry point or the specific page they visit. This consistent placement helps create a smooth and predictable user experience.
Implement a responsive language switcher design
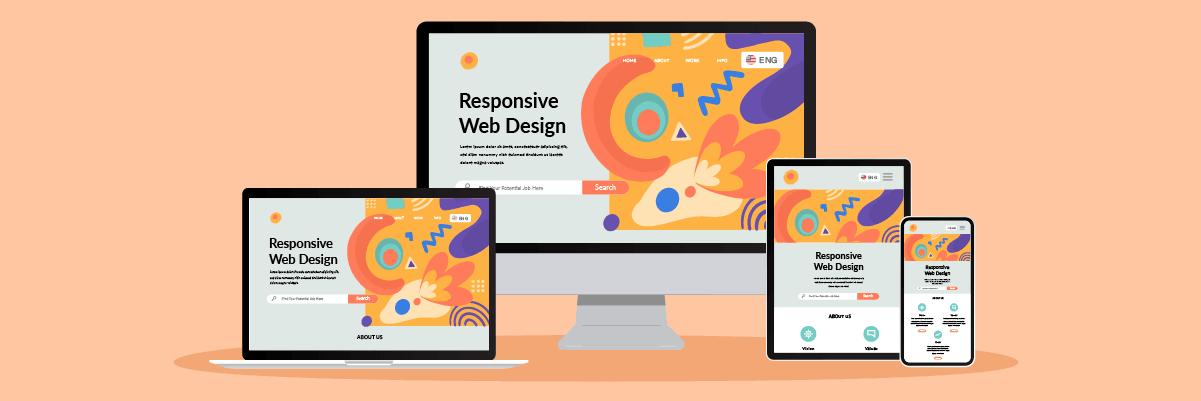
Ensure the language switcher button is responsive and functions well across various devices and screen sizes, including desktops, tablets, and smartphones. Test it on different devices and screen resolutions to ensure a seamless user experience without cutting off or overlapping elements.
A responsive design ensures that visitors can easily access language options from any device they use, enhancing accessibility and convenience in language switching.
Ensure the language switcher is consistent across pages
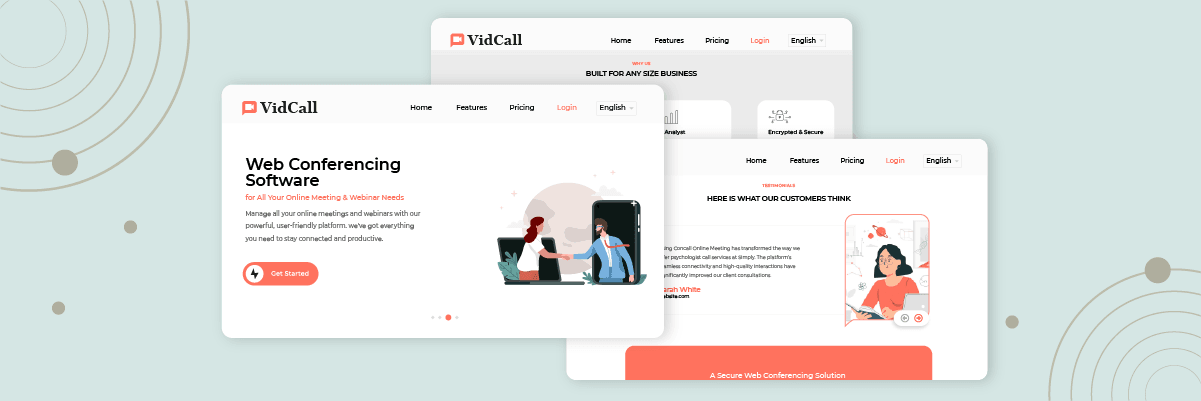
Ensure the language switcher maintains consistent appearance and behaviour across your website. Users should be able to switch languages smoothly, regardless of the page they are on or the content they are viewing. Consistency not only provides a cohesive user experience but also strengthens the accessibility and availability of language options, building trust and confidence in your multilingual website.
Any inconsistency in the language switcher can confuse and frustrate users, potentially leading them to leave your website.
Setup language switcher on Craft CMS with Linguise!
At this point, you should recognize that you are configuring the language switcher for a Craft CMS multilingual website. Establishing a language switcher can provide various advantages and can be fine-tuned based on the previously mentioned points.
Optimizing the language switcher can significantly improve the overall user experience. Next, sign up for a Linguise account, integrate it with your Craft CMS website, and fine-tune the language switcher to enhance the user experience even further.


